Ami James

My creative journey towards City & Guilds Embroidery Certificate - Level Three

Monday, 18 July 2016

Chapter Twelve - Second Design

After Sian's feedback regarding my necklace design she pointed out that it was a 3D item....doh!

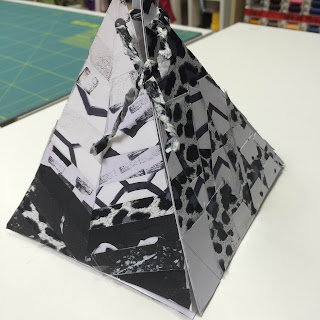
So I went back to the drawing board and I have designed a 3D purse.....


I then made a full size calico mock up of my design.....


This help me decide about the adjoining seams and whether to have them inward or outward facing. 

I them made another full size mock up in the patterned paper to get a feel of the overall look of the purse....


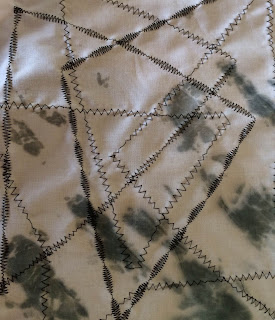
The holes for the braiding will be reinforced with free motion zig zag over the raw edges.


I await for Sian's input.

Wednesday, 13 July 2016

Chapter Twelve - Ideas for Designing a Functional, Three Dimensional Embroidered Item


Chapter Twelve - Ideas for Designing a Functional, Three Dimensional Embroidered Item

Stage One -

Making 3D objects....I used calico and felt and used both machine and hand stitching.


A cube and pyramid machine stitched using calico and a cylinder, wedge shape and shell shape hand stitched in felt.

Stage Two...

I have given this a lot of thought of the module and changed my mind many times. I first opted for a bag but then the more I thought about it I wanted to do something a little different.  I wanted to include my favourite bits of this module.

I have had this idea for a while since starting the module but its evolved since the first initial design. I actually made this first in yarn one evening to make sure the idea worked.....


So I had the basic shape and idea ready so I began to sketch out and plan the finer details.....


And then decided to make a calico mock up....


The calico mock up featured front and rear facing seams which gave me a better idea and pattern but I also changed the layout of the pendants.....


Then I concentrated on stitches, seams and braids....


These two inserted seams will featured on the 2.5 inch pendants


I picked this seminole sample to feature on one the larger 3 inch sample along with a log cabin mathod


Paper Mock ups.

This task was an excellent demonstration for me. I made two paper mock up to trial out tones and sequence.  The first was to test dark to light which I had originally planned in my very first drawing and planning. I thought this looked good.....


However the second test which went from light to dark proved to be a success and now on reflection I think this mock up is the best. 


I have glued this into my workbook for future reference...


I await to hear Sians comments.


Thursday, 7 July 2016

Revisiting and Tidying Up


I have revisited Chapter nine to concentrate on the tonal changes using the Fibonnacci sequence and the golden section.

Page One


Page Two


Page Three

Page Four


Page Five
I had another try at making a tonal golden section.....
     
               
Page Six

After using slightly different paper for the golden section to my fibonnacci sequence I decided to try the fibonnacci sequence again because I felt the pattern would be more noticeable ....

            
Page Seven

Page Eight

Page Nine


I have also revisited chapter eleven and reworked my fabric sample.

I liked the the wedge design back on page 12 in chapter eleven so I worked with this design cutting it smaller and smaller until i had three sections.


Thursday, 23 June 2016

Chapter Eleven - Further Design Exercises

Chapter Eleven - Further Design Exercises

Paper Designs

Page One - White/Grey Tonal Column

Page Two - Dark/strong pattern tonal column

Page Three - Patterned tonal column

Page Four 

Page Five - Leftover paper samples
Page six

Page Seven

Page Eight

Page Nine

Page Ten

Page Eleven

Page Twelve

Page Thirteen

Page Fourteen 


Stage A - Fabric Samples.

I looked back at my stitched samples I made early on in this module to remind myself which I liked and which worked well. With that in mind I starting stitiching.....


I then moved on to my samples.

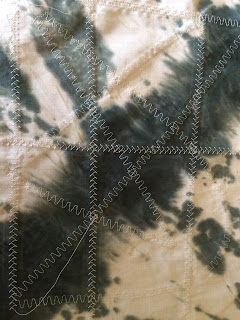
I started simple with factured blocks. I sewed a decorative stitch over one on the front seams.


Next I cut strips at an angle... and fluffed up seams by cutting


Next I made a wedge design...

This time I sewed decorative stitches on the back seams before cutting.


Lastly I used the stack and whack method...


Stage B.

Front facing...


Back facing seams


Evaluation


Costs - £2 - Glue

Time Spent - 20.5 hours

I prefer working with hand dyed and decorated fabrics to plain so this was a good experiment for me. I'm slowly getting to grips with making the back seams a feature. Some samples I still prefer from the front but its been mind opening to see it from the back.